This is the practical step-by-step path to a funded Bitget account: register, secure the account, complete verification, and buy your first crypto through whichever payment method works for your country. Total time end-to-end: 15 to 60 minutes depending on your purchase method.
For the broader exchange comparison, see our BingX review – Bitget and BingX are direct peers in the copy-trading focused exchange tier, and which one fits you depends on jurisdiction, fees, and feature mix.
Not financial advice. Crypto trading is high risk. Verify rules in your jurisdiction before depositing.
Before you start: country availability
Bitget is not available in the United States, Canada, the United Kingdom, Iran, North Korea, Syria, Cuba, Crimea, Donetsk, Luhansk, and a few other restricted jurisdictions listed in the Bitget terms of service. The platform geo-blocks restricted IPs.
Do not use a VPN to register from a restricted country. Bypassing geographic eligibility can result in account closure and frozen funds. The risk is not worth the workaround.
If you are in a supported country (most of EU, LATAM, MENA, SEA, Africa, Australia, and many other regions), continue.
Step 1: Open Bitget and click Sign Up
Open the Bitget site and click the Sign Up button in the top-right corner. The mobile app version is on the iOS App Store and Google Play with full feature parity.
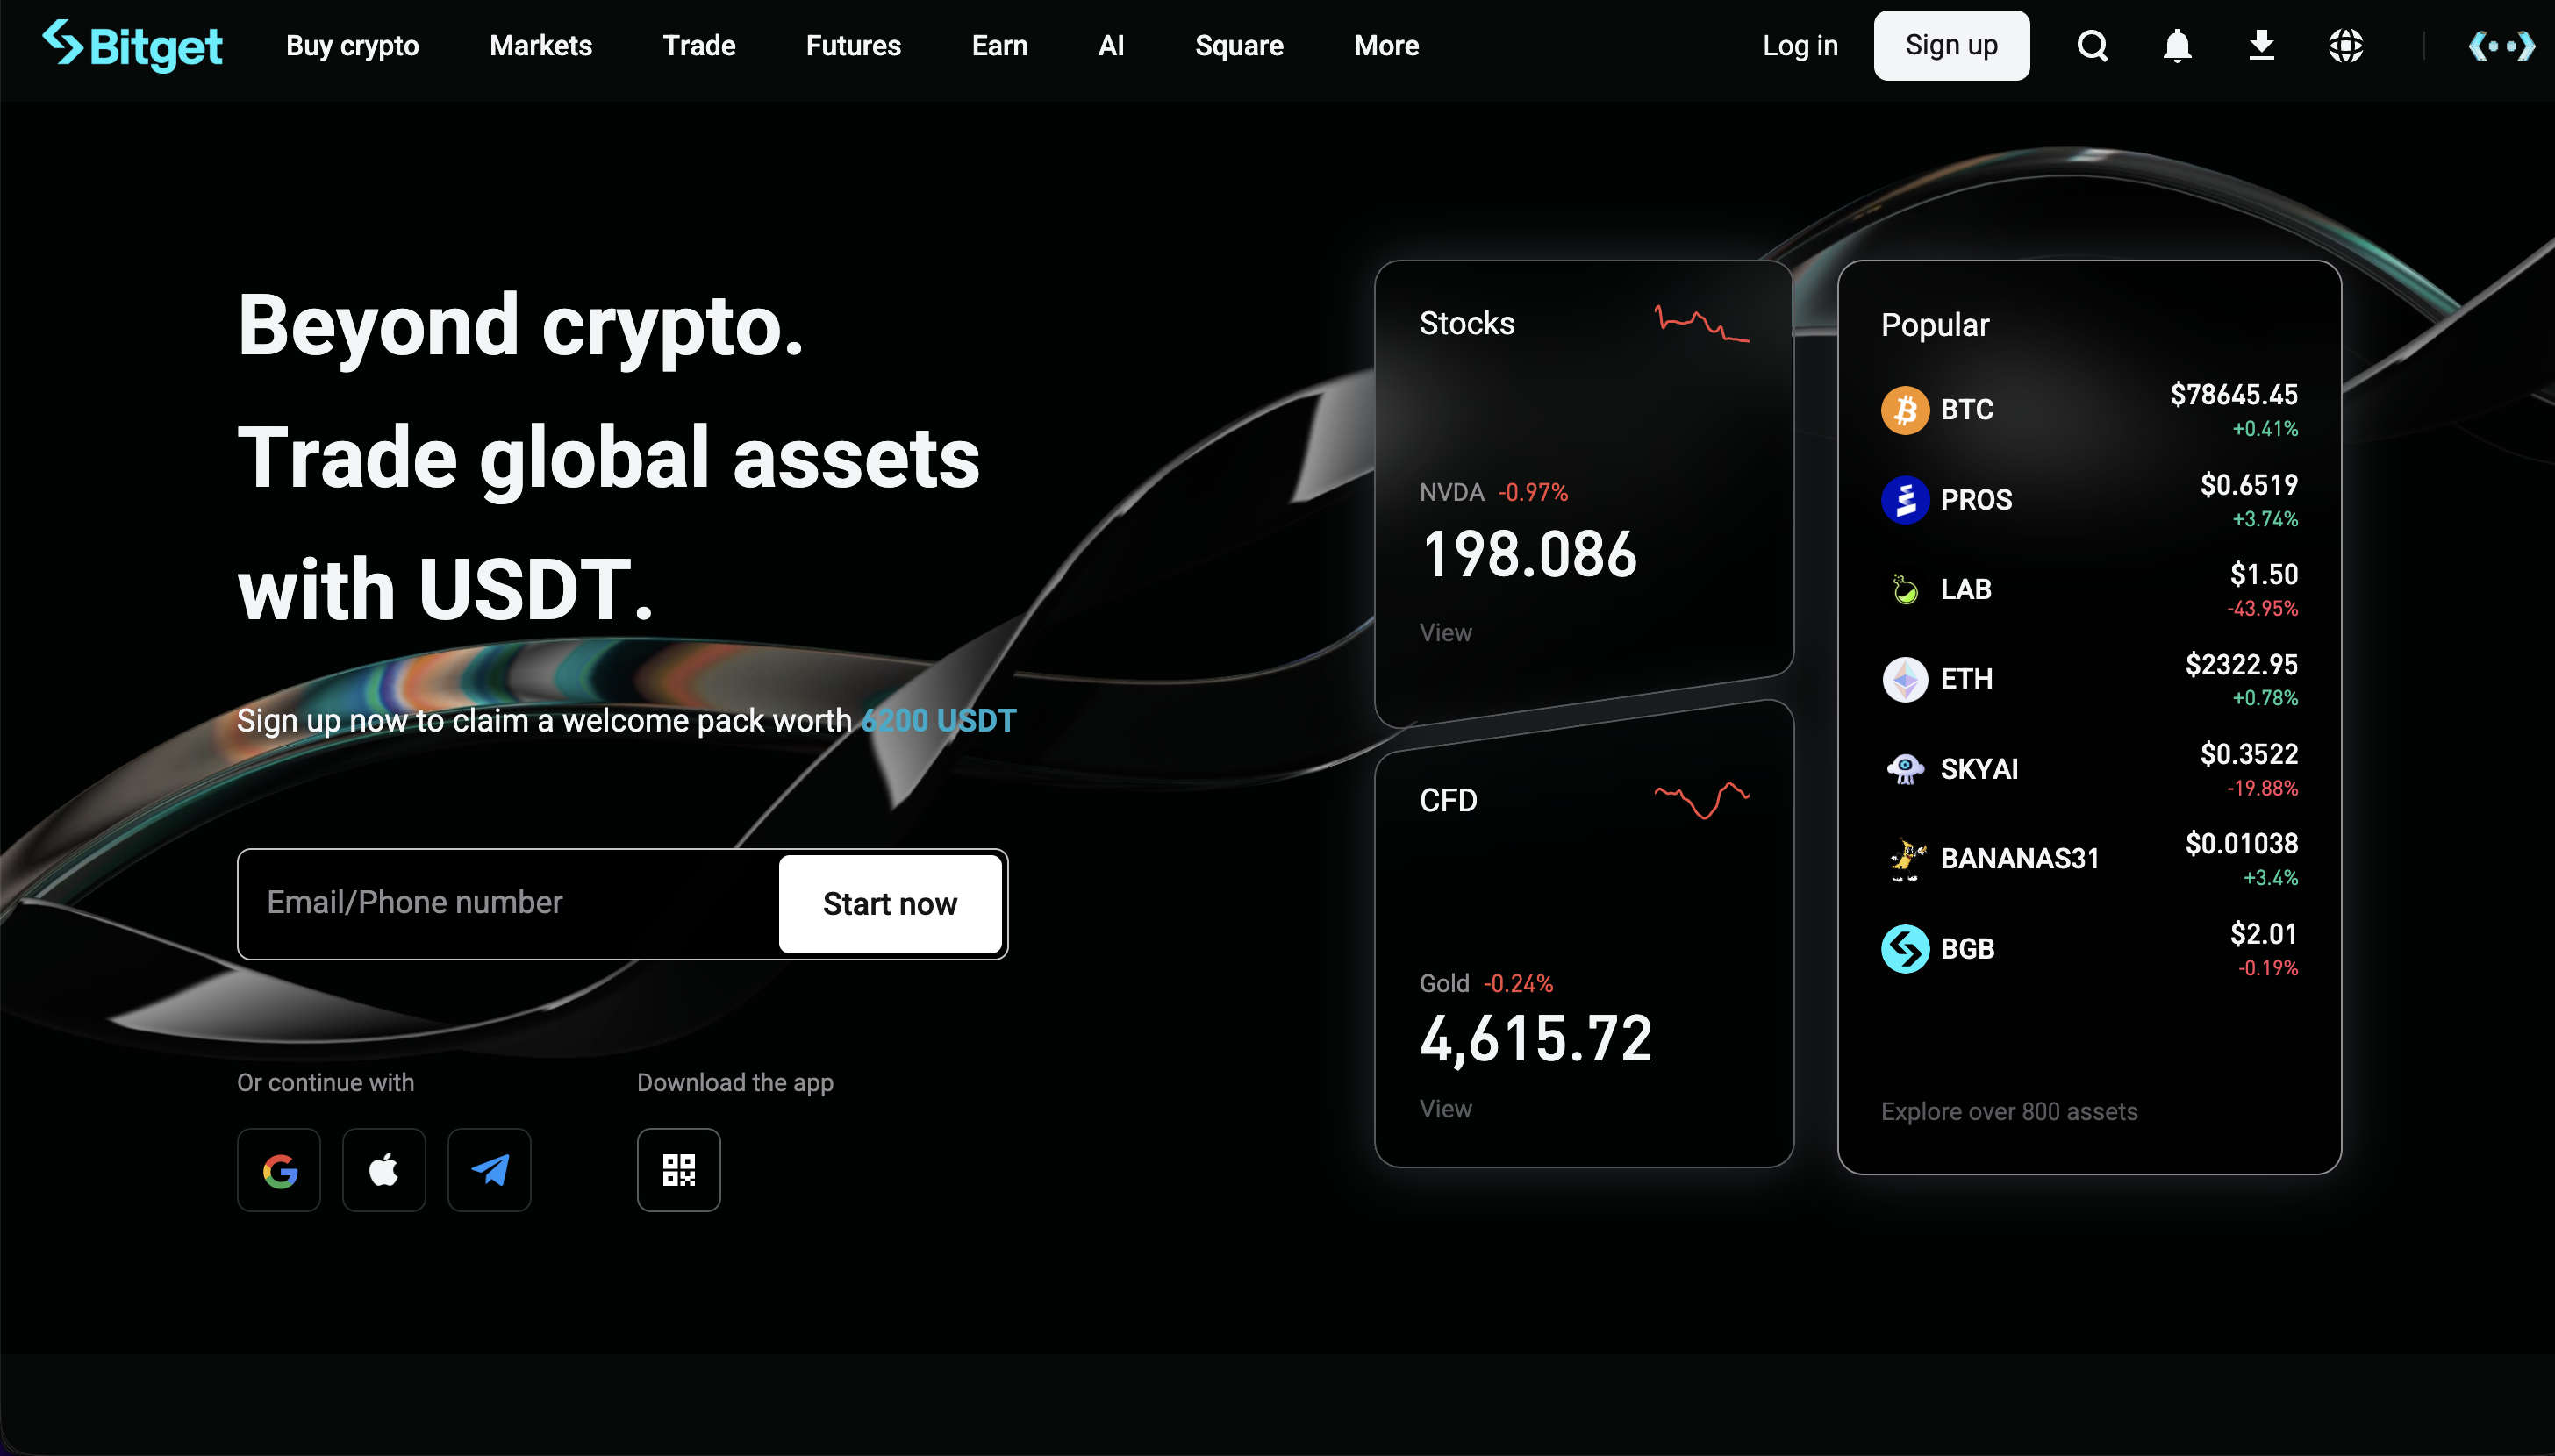
Open the registration page: Sign up on Bitget
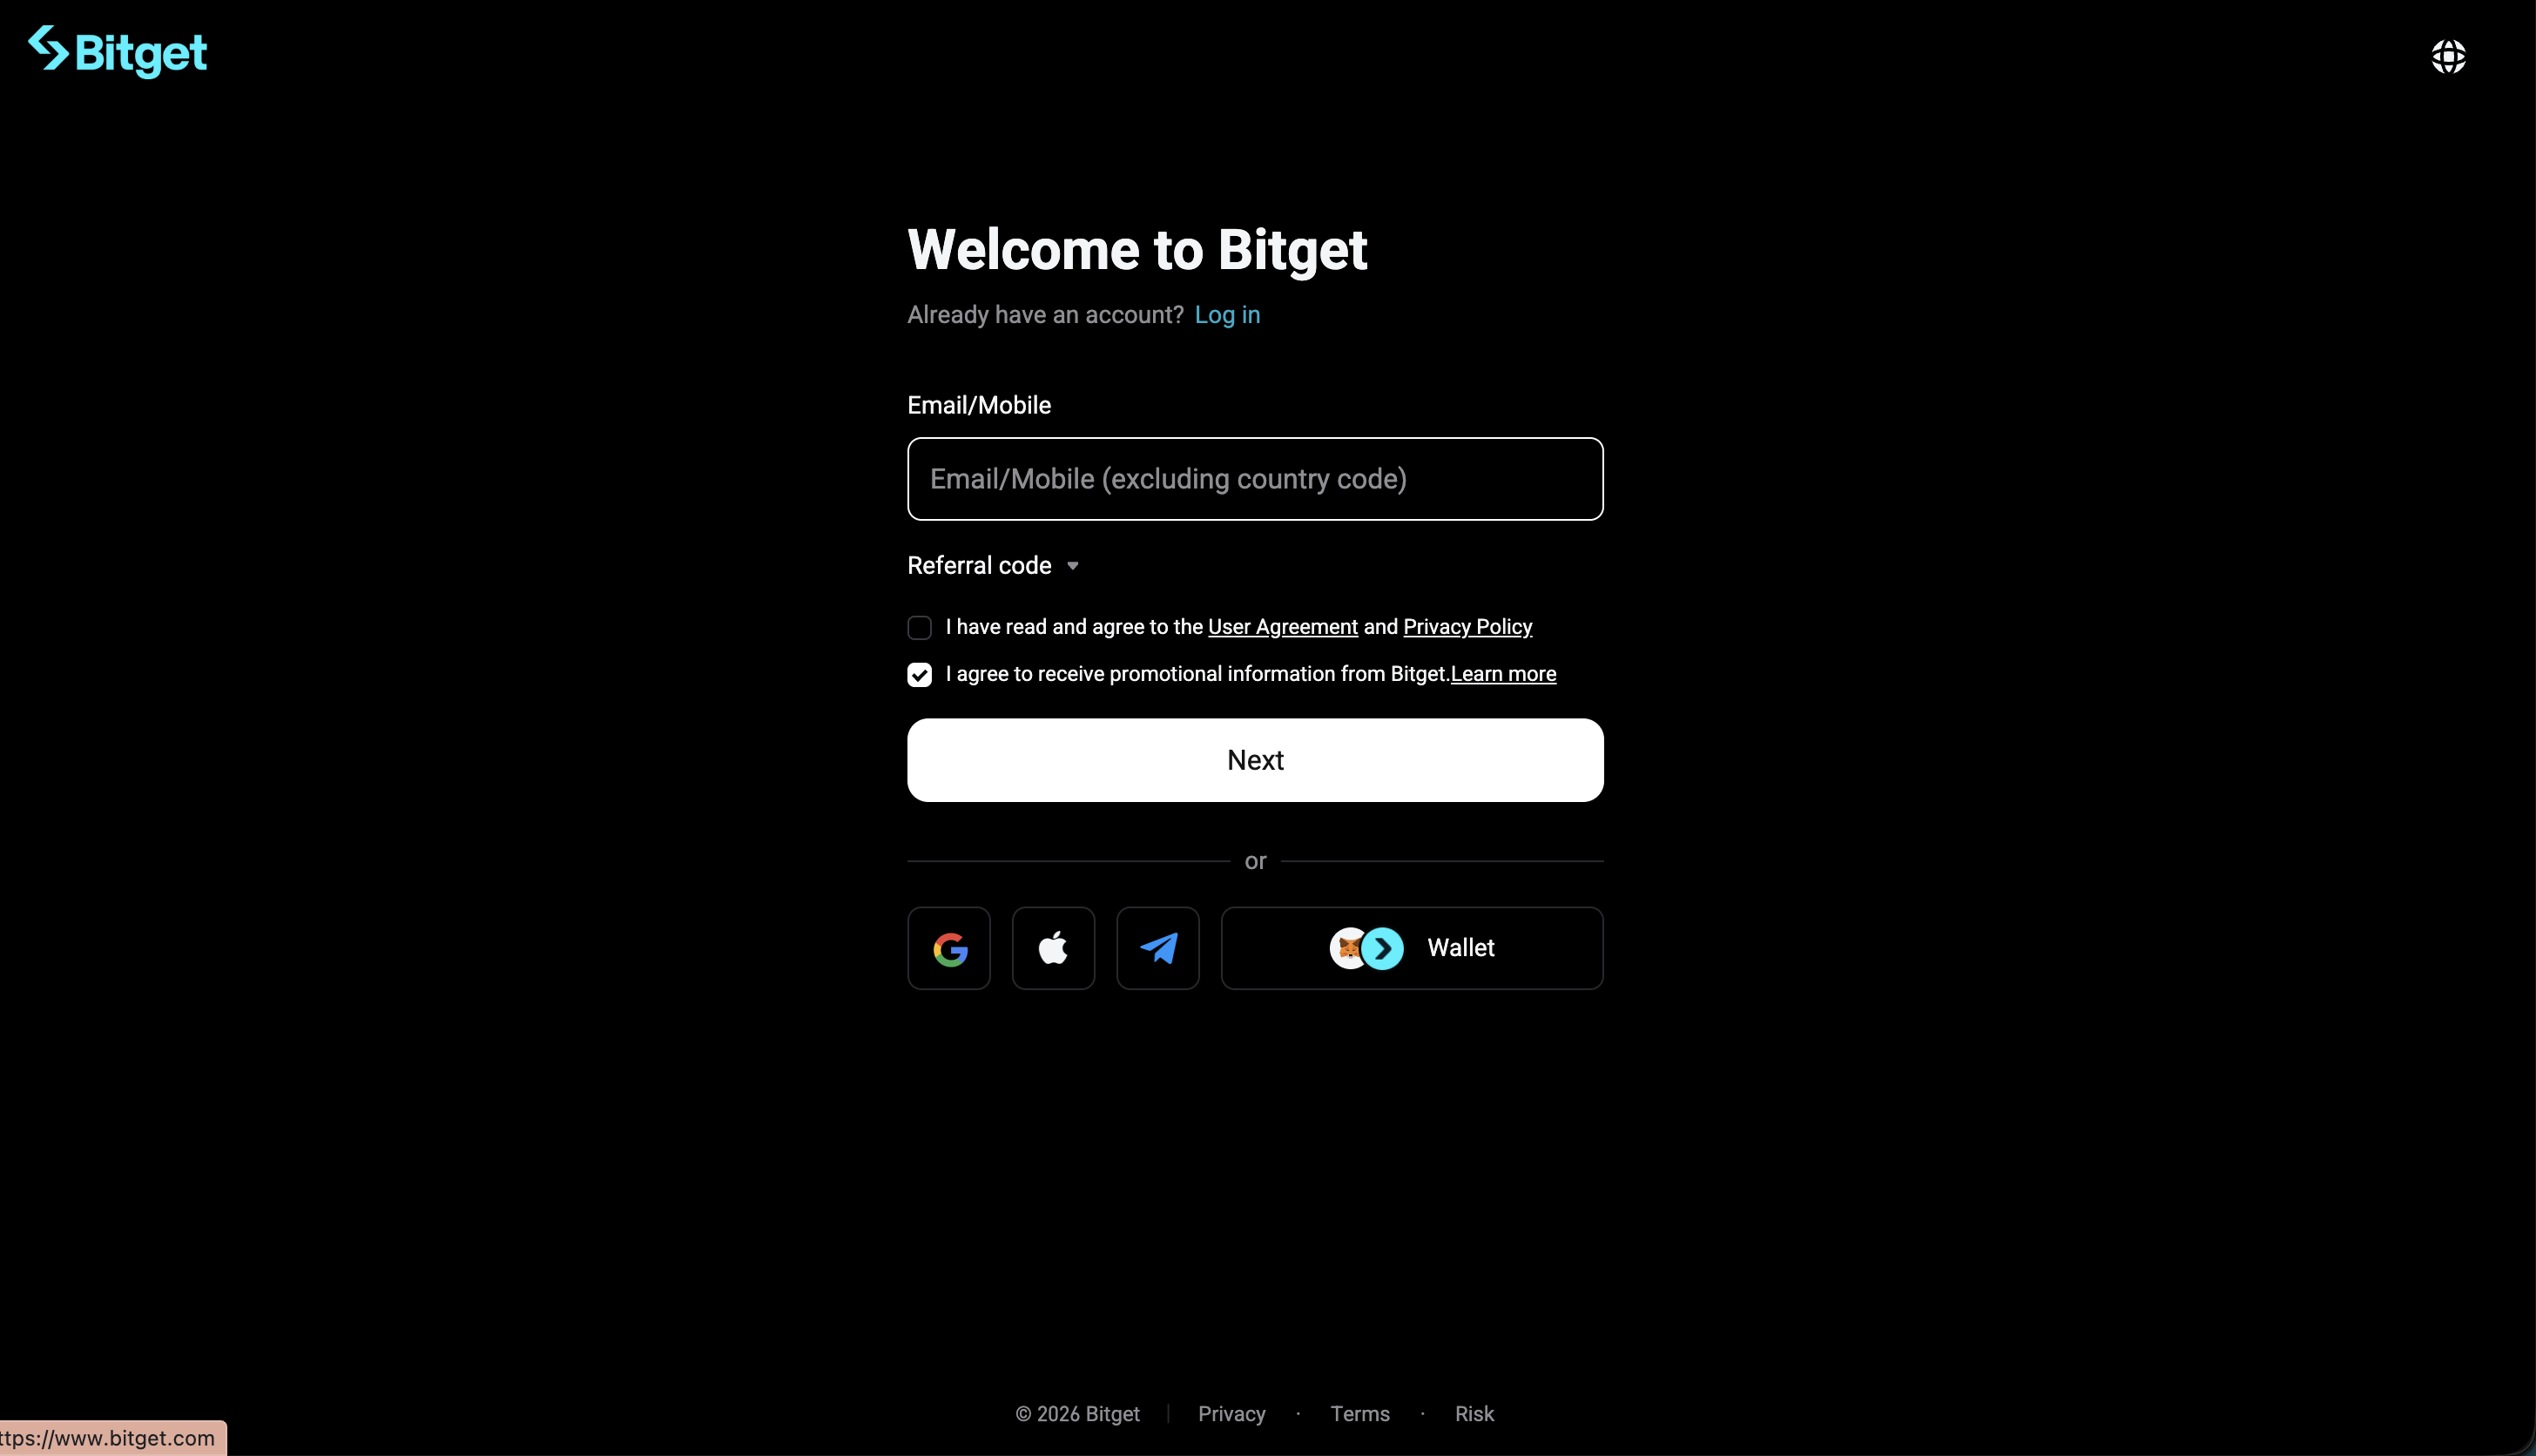
Step 2: Choose Email or Phone, create a strong password
Bitget offers two registration methods: Email or Phone Number. Both end in the same place. Choose by which one you check more reliably.
Password requirements: 8 to 32 characters with mixed case, numbers, and at least one special character. Do not reuse a password from any other exchange or service. Credential reuse is the most common path to a hijacked exchange account. Use a password manager (1Password, Bitwarden) to generate something unique you cannot remember by accident.
If you arrived via a referral link, the Referral Code field is pre-filled. Using a referral does not change your fees, limits, or features – it only credits the partner with a portion of Bitget’s revenue from your trading.
Step 3: Verify your email or phone
Bitget sends a 6-digit code to your inbox or phone. Enter it within 10 minutes (the code expires).
If the email does not arrive within 2 minutes, check your spam folder. If still missing, click Resend. For phone verification, network delays in some regions can take 1 to 3 minutes – be patient before resending.
Step 4: Enable 2FA – do this in the first session
Two-factor authentication is the single most important security setting on any exchange account. From your dashboard, click your profile icon (top-right) → Security Settings → Two-Factor Authentication.
Choose Google Authenticator rather than SMS. SIM-swap attacks against crypto exchange users are common, and SMS 2FA is the most-attacked recovery vector. Install Google Authenticator (or Authy, 1Password TOTP) on your phone, scan the QR code Bitget shows, and enter the resulting 6-digit code to confirm.
Save the backup codes Bitget displays. Store them on paper, in a password manager, or on a secondary device. If you lose your phone without these codes, account recovery becomes a multi-week support process.
Step 5: Set an anti-phishing code
Phishing emails impersonating exchanges are the largest single attack vector against retail crypto users. The anti-phishing code is a 4–20 character string that Bitget includes at the top of every legitimate email it sends to you. Any email claiming to be from Bitget that does not include your code is fake – close it, report it, do not click anything.
Set this in Security Settings → Anti-Phishing Code. Make it memorable but not guessable – not 12345, not your name, not your birthday. Take 30 seconds now. It will save you from a very real common scam later.
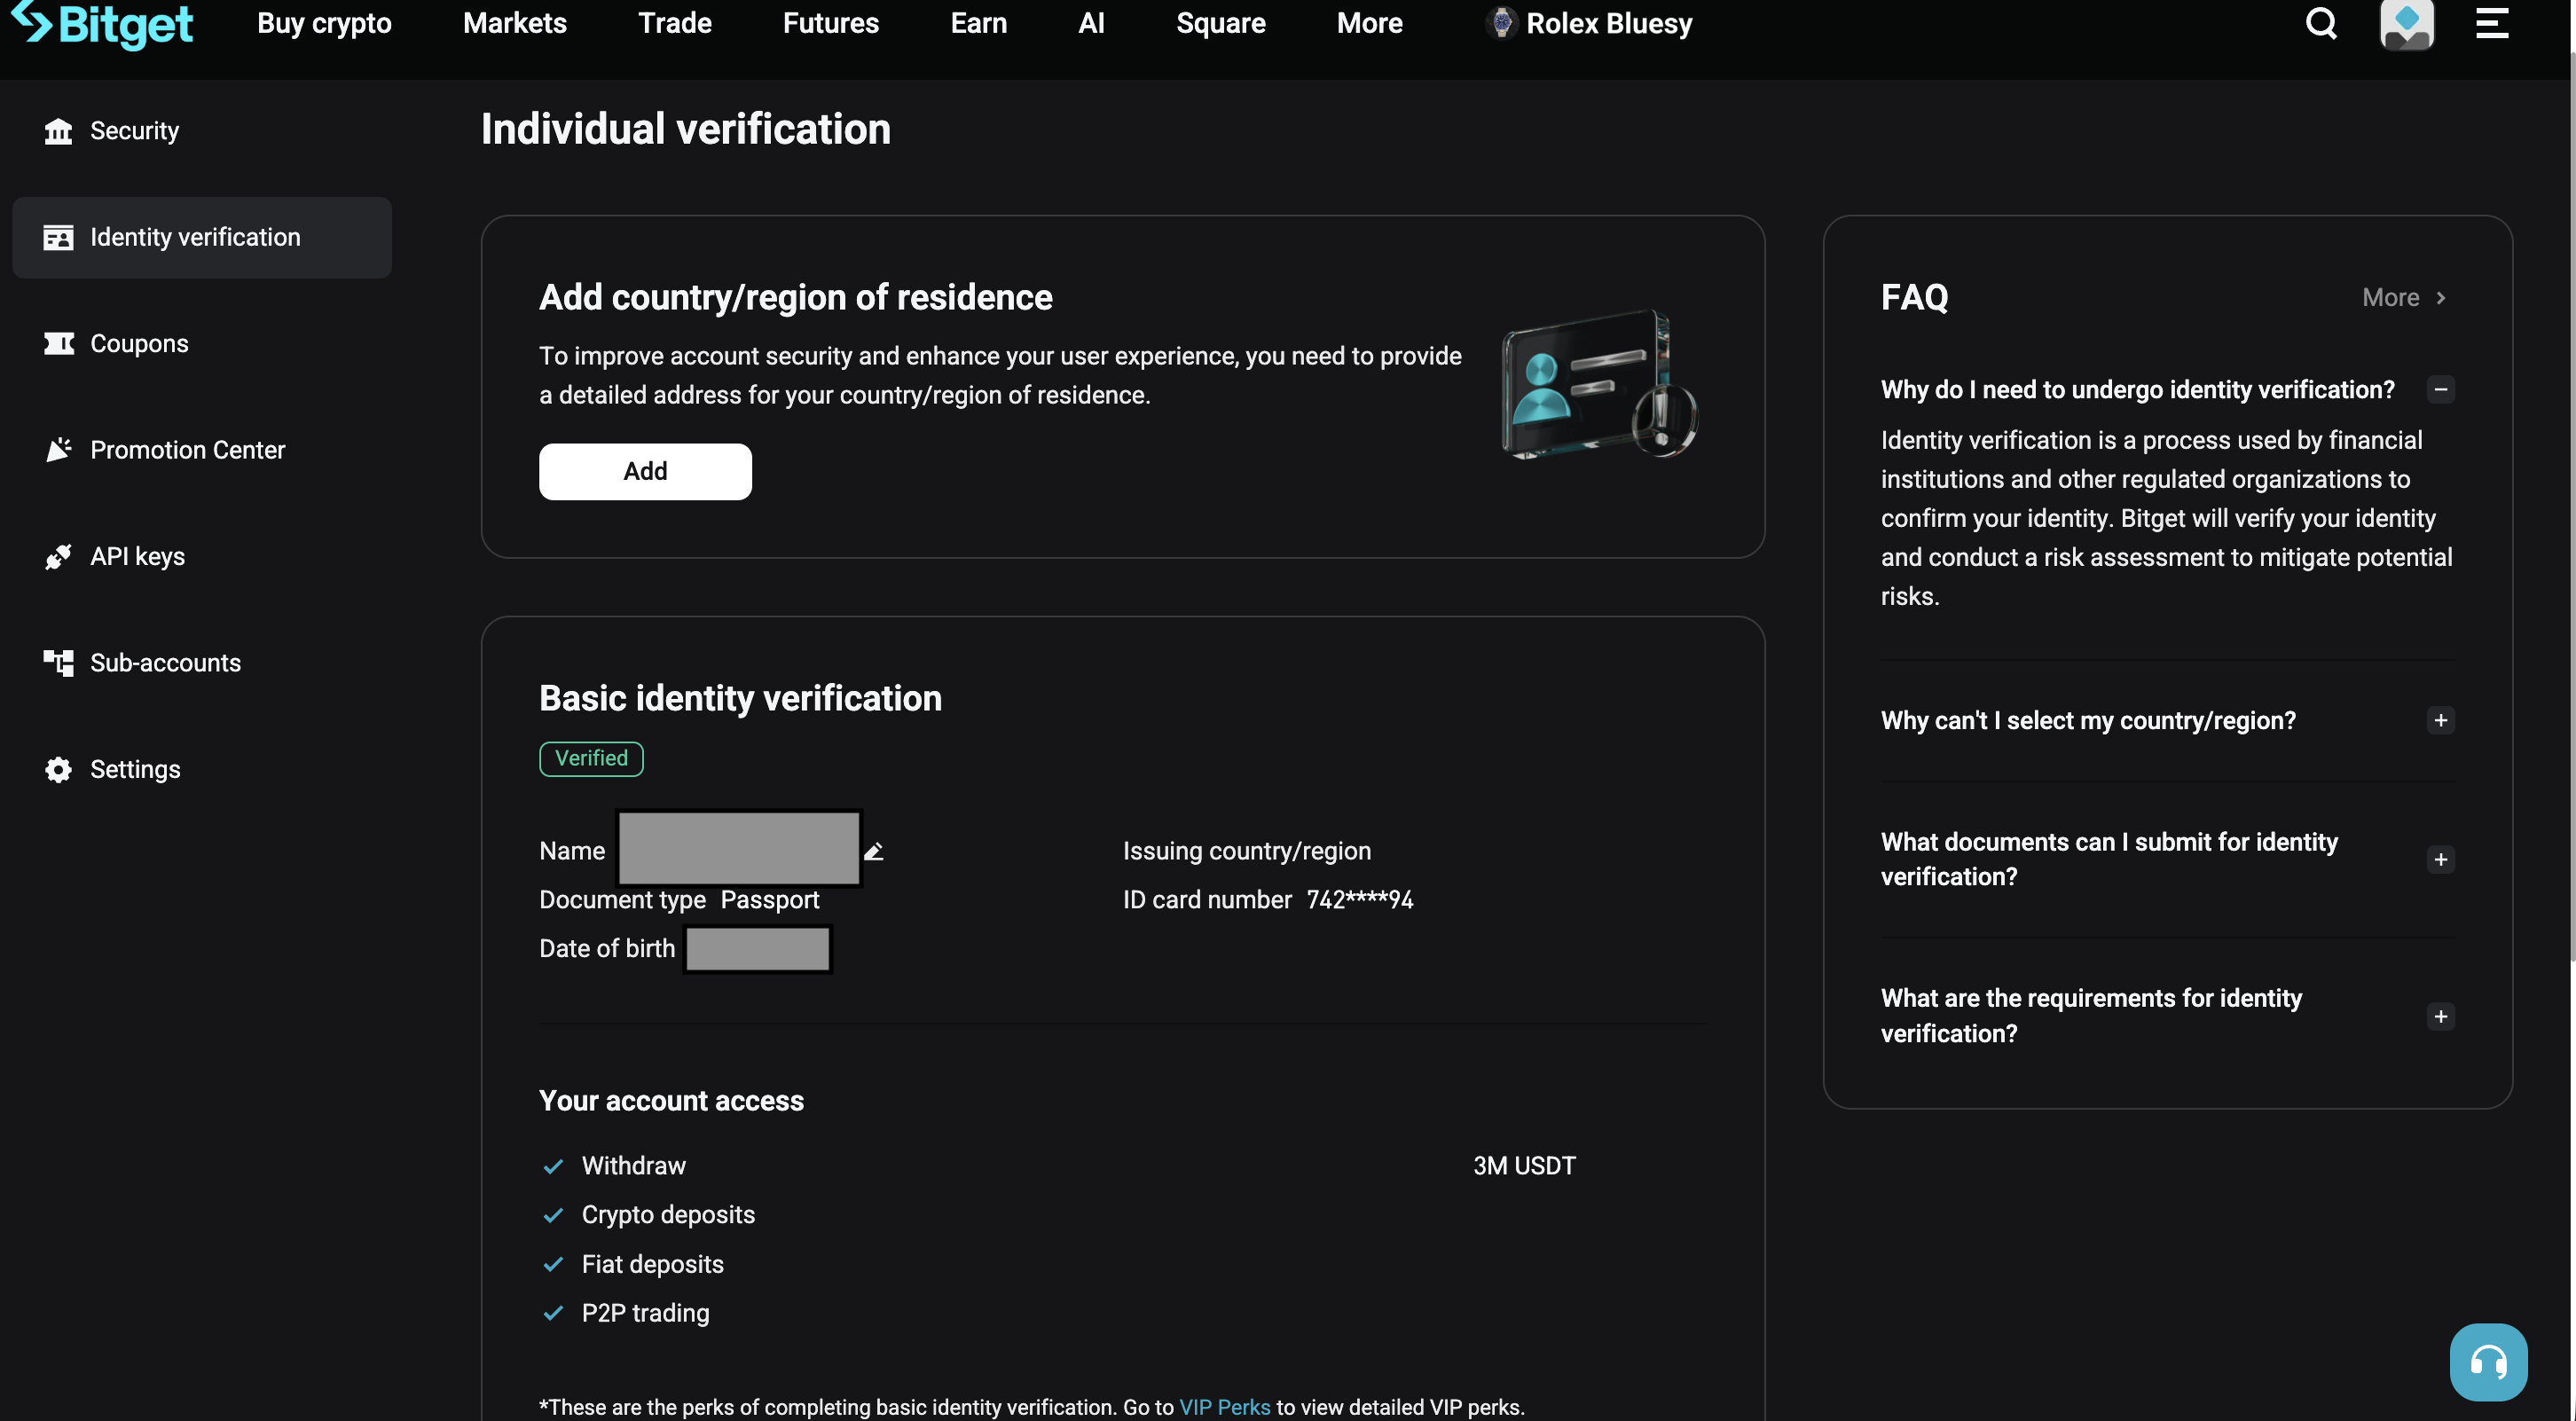
Step 6: Complete Identity Verification (KYC)
You can trade and deposit crypto on the Standard tier without verification, but withdrawal limits are restricted. Completing Basic Verification is recommended in the first session – it raises your daily withdrawal cap to up to 200 BTC equivalent, unlocks all fiat onramps, and makes your account harder to lock during AML reviews.
Go to your profile → Identity Verification → Basic Verification → Get Started. You will need:
- A government-issued ID – passport, national ID, or driver’s licence
- Front and back photos in clear daylight, no glare, all four corners visible
- A liveness check (selfie via your phone or webcam)
Approval typically takes 5 minutes to a few hours, occasionally up to 24 hours during peak loads. You can use the platform during this window – only certain higher tiers and fiat options stay locked until verification completes.
For higher limits, Advanced Verification adds an address proof and a source-of-funds questionnaire. Most retail users do not need this on day one.
Step 7: Choose how to buy crypto – four paths
Bitget offers four paths to acquire your first crypto. Pick by your jurisdiction, payment preference, and amount.
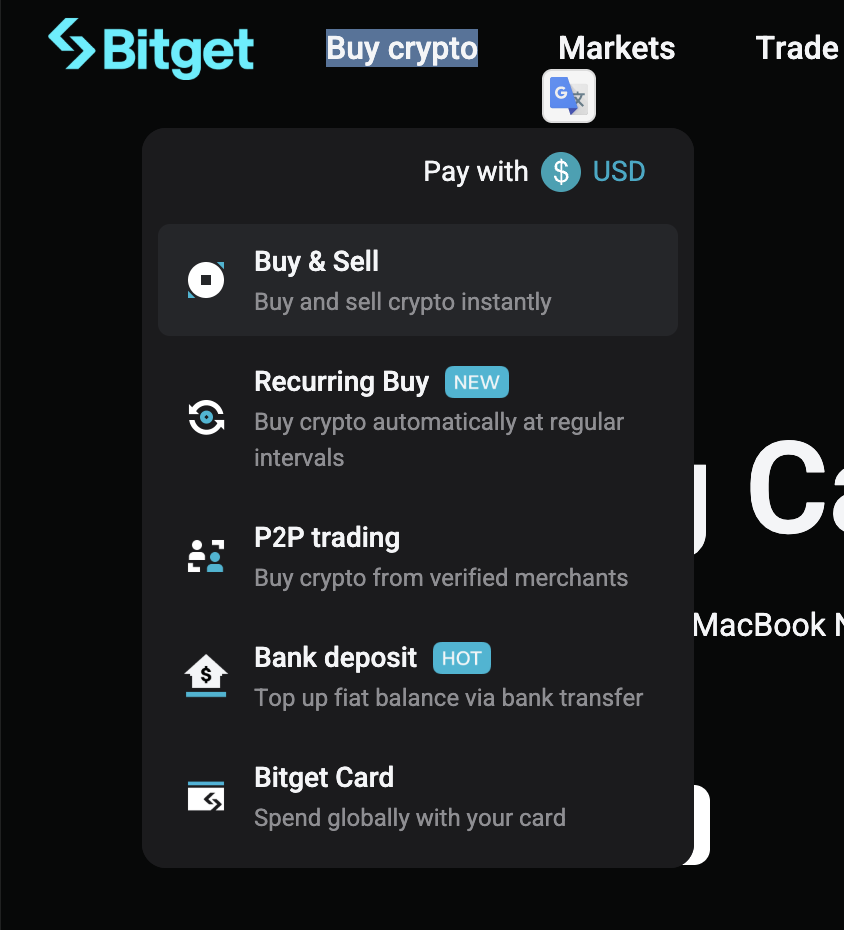
Path A: Buy with debit/credit card (fastest, most expensive)
The simplest path. From the dashboard, click Buy Crypto → Card. Bitget integrates Simplex, MoonPay, Banxa, and a few other third-party providers depending on your country. Choose:
- Asset: USDT or BTC are the most universally available
- Currency: your local fiat (USD, EUR, BRL, ARS, etc.)
- Amount: the fiat amount you want to spend
- Provider: the platform shows live quotes from each provider – pick the cheapest
Card purchases typically cost 2 to 5 percent above mid-market (the provider’s fee + spread). Useful for first deposits, expensive at scale. KYC with the third-party provider is required at most amounts above ~$50–100.

Path B: P2P trading (cheapest, takes some patience)
The most cost-effective path. From the dashboard, click P2P Trading. You see a marketplace of buy/sell offers in your local currency, posted by other Bitget users.
How it works:
- Select Buy tab, pick your fiat currency, pick the asset (USDT is most liquid)
- Filter by payment method you can use (bank transfer, Revolut, Wise, regional payment apps)
- Pick a seller – prefer those with high completion rate (>98%), high transaction count (>500), and short response time (<5 min)
- Click Buy, enter the amount
- Bitget escrows the seller’s USDT
- You make payment to the seller’s bank/app
- Click I have paid in Bitget
- Seller confirms receipt → Bitget releases USDT to your account
P2P fees on the Bitget side are zero. Your cost is the seller’s spread, typically 0 to 2 percent over mid-market. P2P is the cheapest fiat onramp at any volume above ~$200, and it covers more than 70 fiat currencies including most regional and emerging-market currencies that card providers do not.
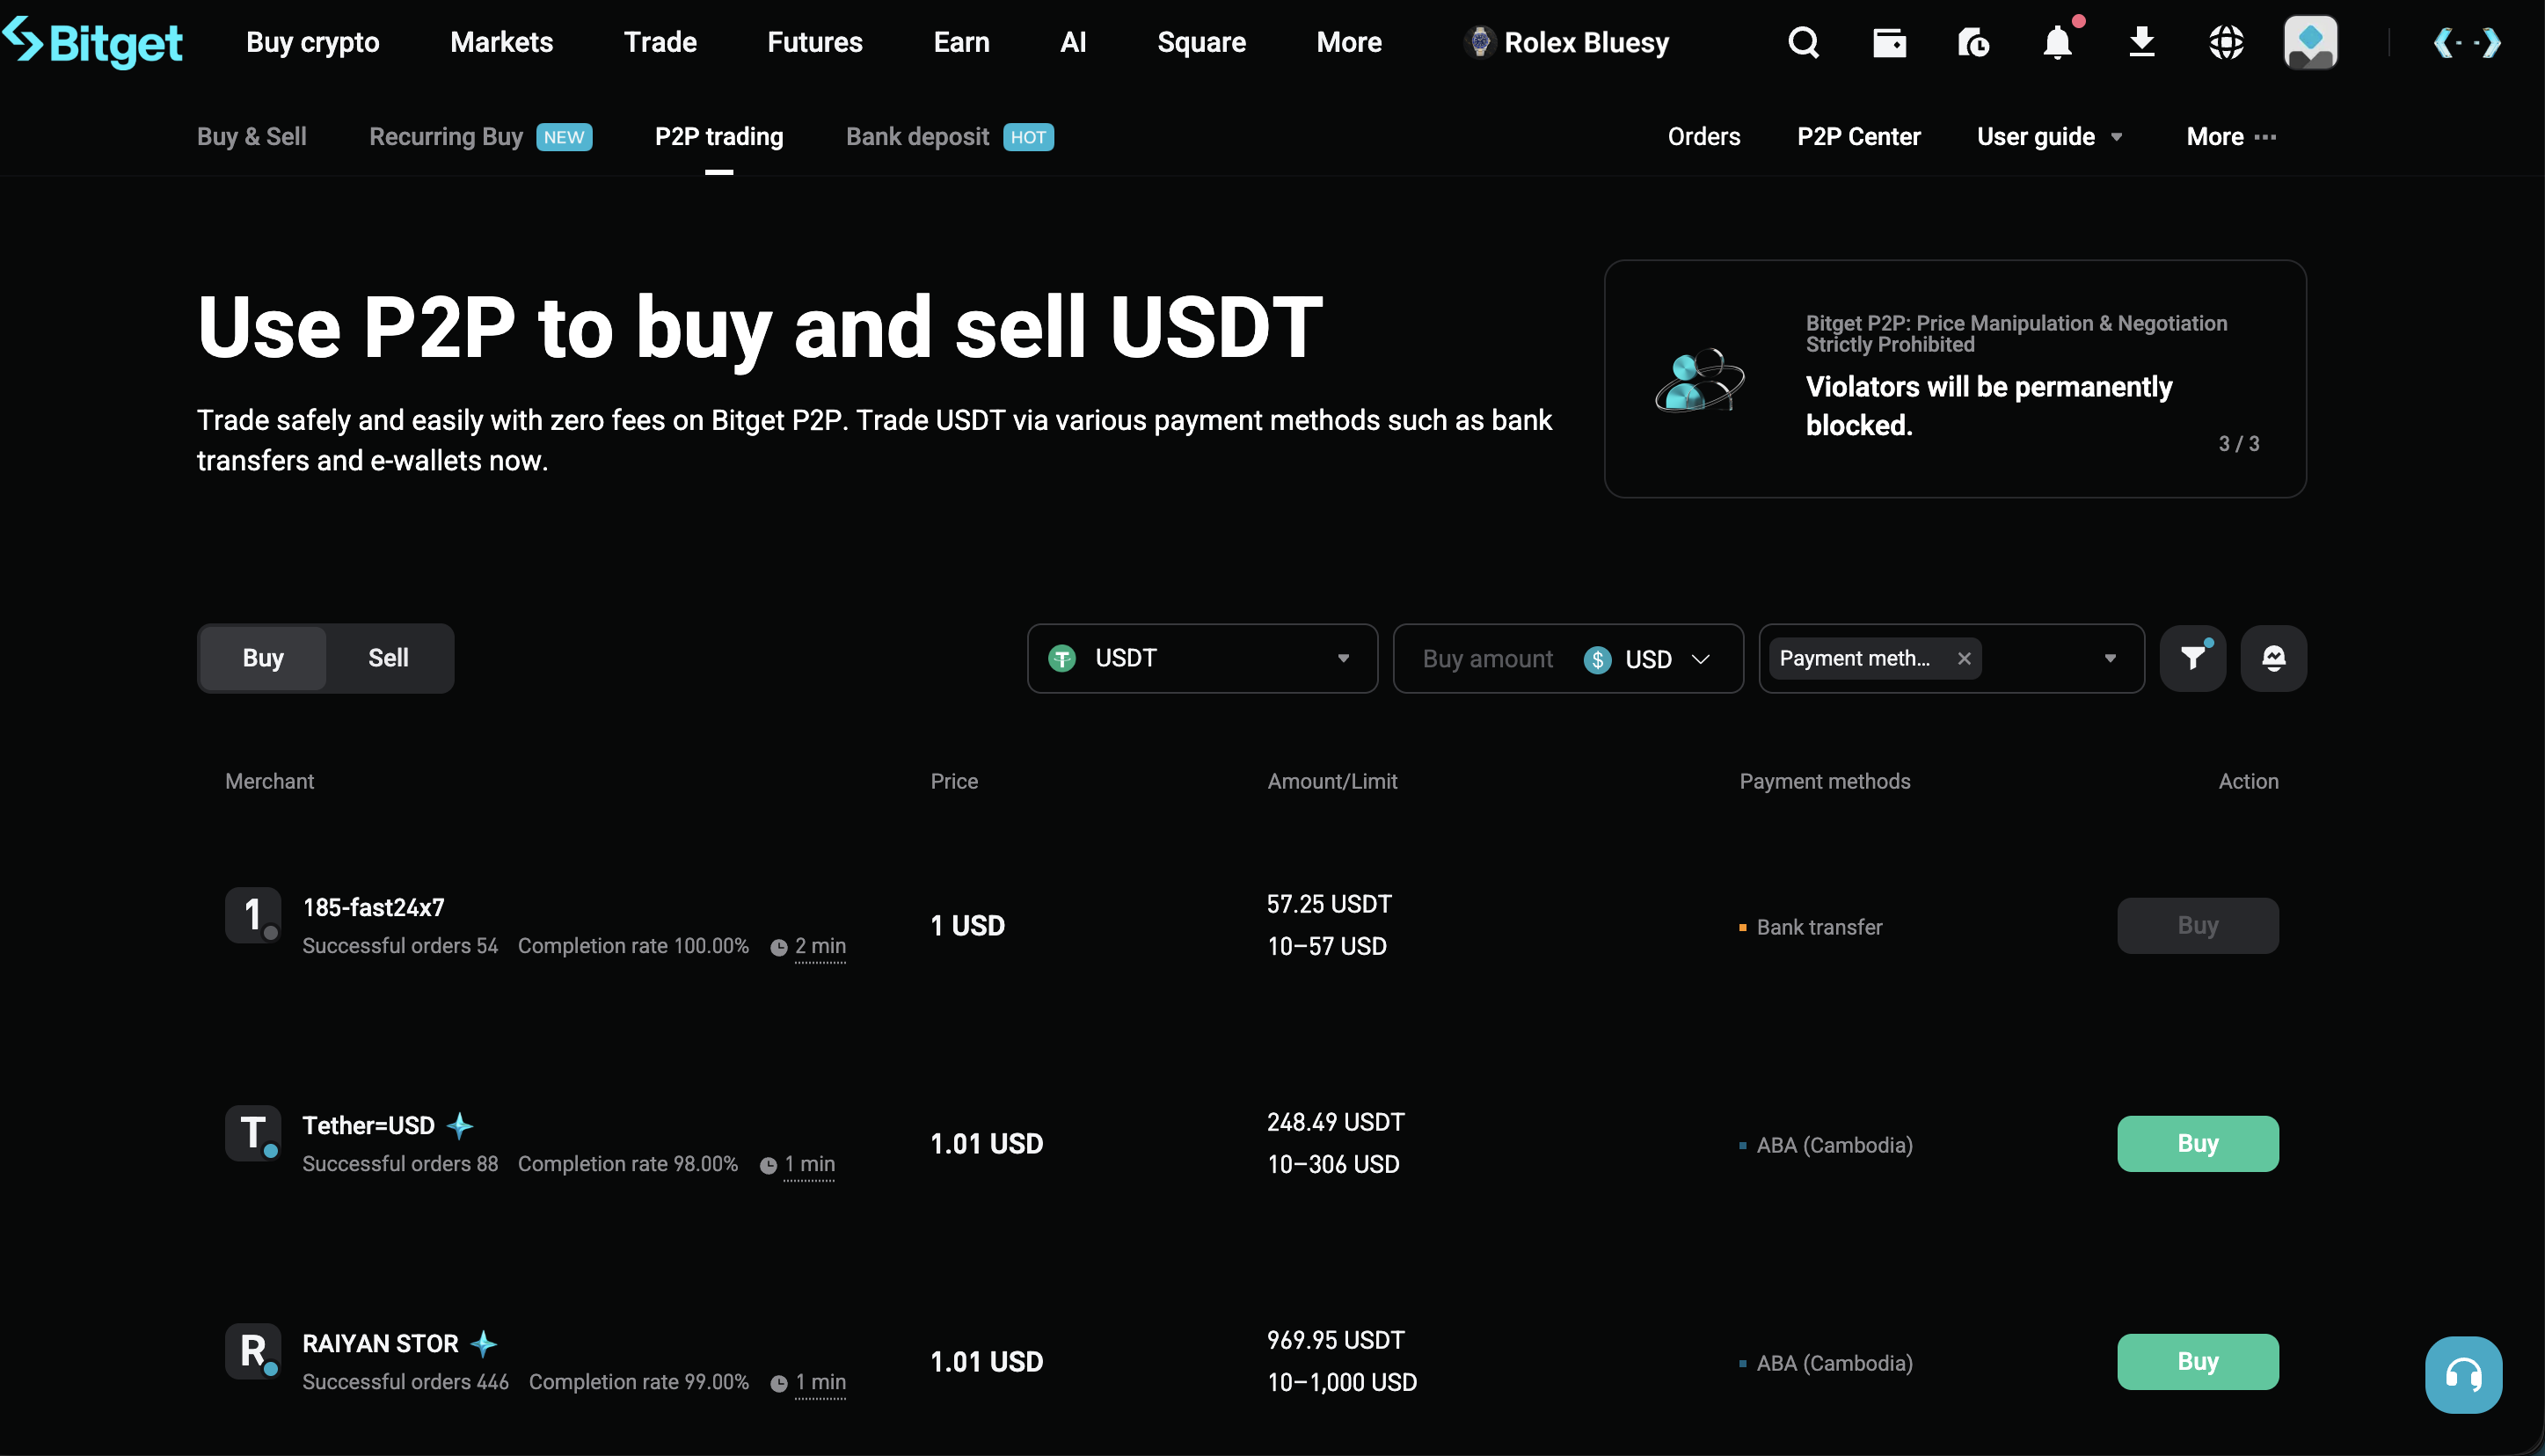
Always click “I have paid” only after the payment really posted on the seller’s side. Some scammers will try to get you to click before they receive funds, then dispute. The escrow protects you, but only if you follow the workflow.
Path C: Bank transfer (mid-tier cost, slower)
In some regions Bitget supports direct fiat deposits via SEPA (Europe), ACH (selected), Faster Payments (UK – but UK is restricted, so this is limited), and similar. Click Buy Crypto → Bank Transfer to see what’s available in your country.
Bank transfers take 1 to 3 business days but typically have lower fees than card purchases (often under 1 percent including the FX spread).
Path D: Crypto deposit (free if you already have crypto elsewhere)
If you already hold crypto on another exchange or self-custody wallet, deposit on-chain is essentially free apart from network gas.
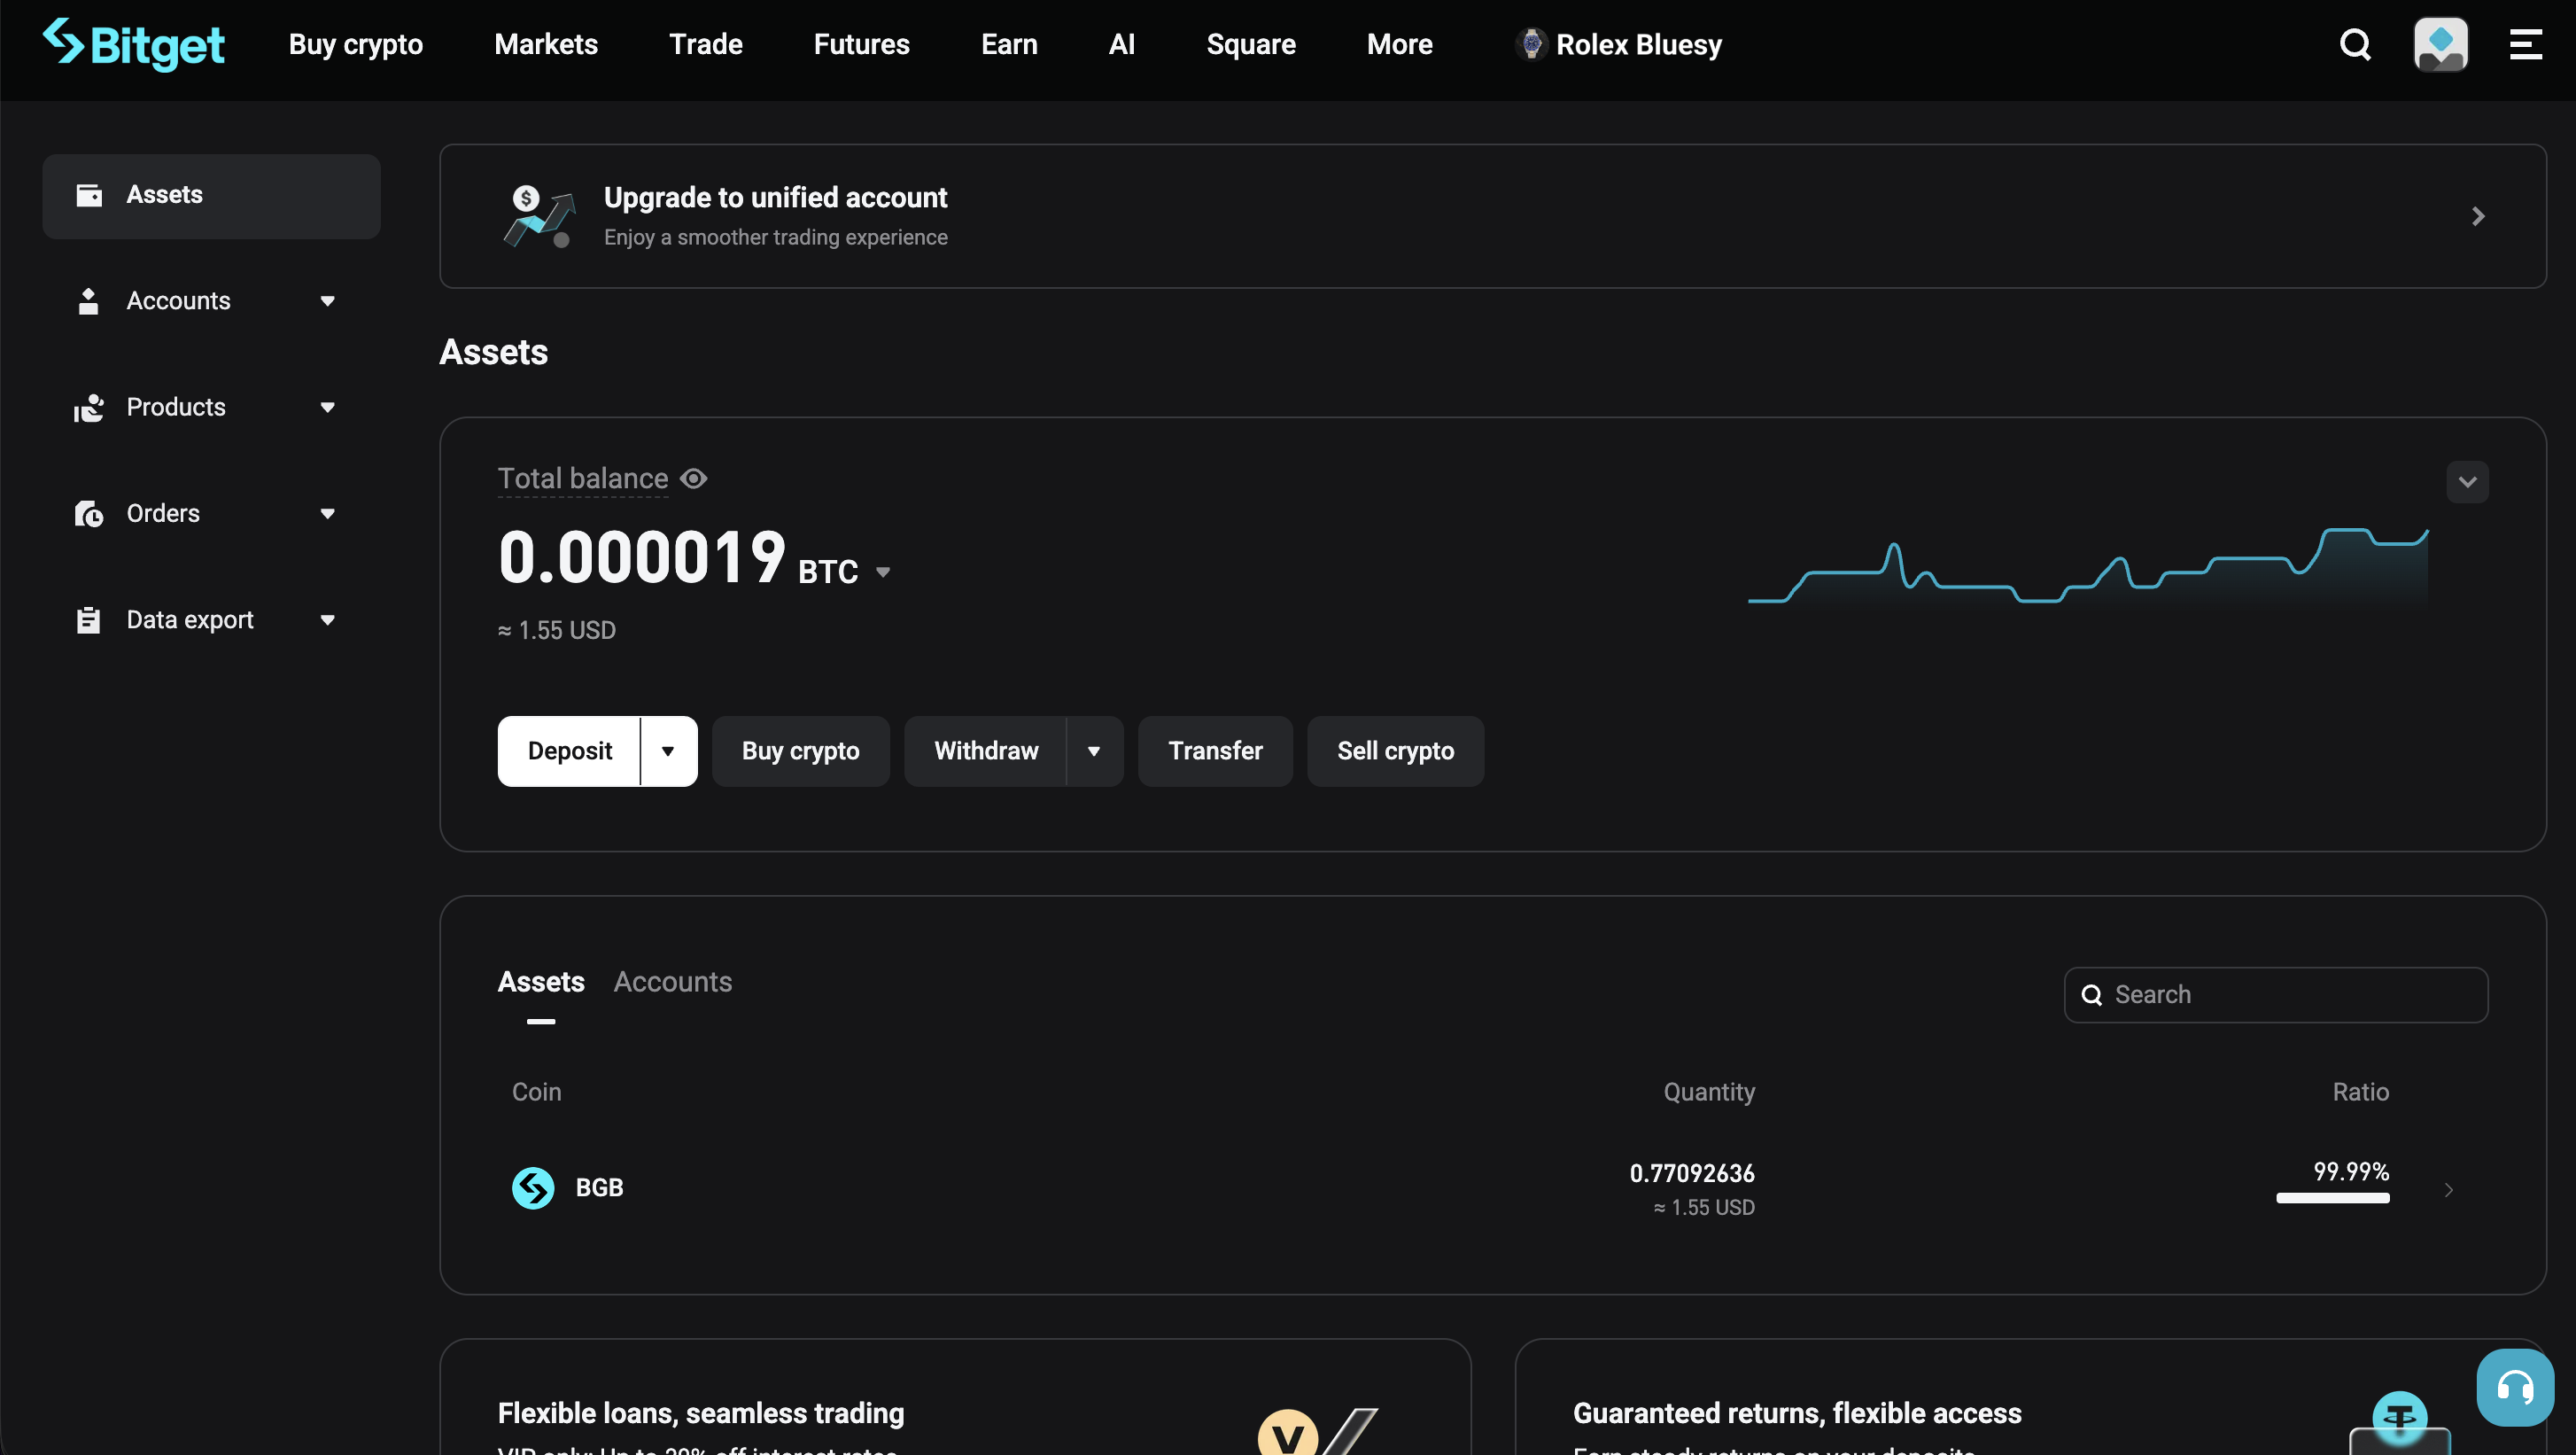
- Bitget dashboard → Wallet → Deposit
- Select asset (USDT, BTC, ETH, or other)
- Select network – match exactly what your source supports. Wrong-network transfers can result in permanent loss of funds.
- Copy the deposit address
- Send from your source wallet/exchange
- Wait for network confirmations (1 for Tron, 6 for Bitcoin, 12 for Ethereum)
- Funds appear in your Bitget Spot wallet
Test small first. Send 20–50 USDT as your first transfer. Confirm it lands in your Bitget wallet, then send the rest. Wrong-network mistakes are by far the most common loss-of-funds error in crypto.
Step 8: Place your first trade
With funds in your Spot wallet:
- For long-term hold: withdraw to your self-custody wallet (Ledger, Trezor, MetaMask). Custody risk on any exchange is non-zero; assets you do not actively trade should not sit on an exchange indefinitely.
- For active trading: Spot or Futures. Spot first if you are new – futures with leverage can liquidate your account in minutes if you size positions wrong.
- For copy trading: click Copy Trading in the navigation, browse lead traders. Bitget runs one of the deepest copy-trading marketplaces in the industry, comparable to BingX. Use the same filtering framework we apply for any copy product: filter by maximum drawdown (under 35 percent), account age (over 180 days), leverage discipline (under 20× sustained), and ignore ROI as the primary filter. The full lead-trader risk framework is on our methodology page.
Common mistakes new users make
- Skipping 2FA setup. Most accounts compromised on day 1 had email-only login.
- Reusing the same email + password as another exchange. Credential stuffing is the #1 attack vector.
- Sending crypto to the wrong network. USDT on Tron sent to a BSC address is gone in most cases. Always match networks on both sides.
- Buying with card at scale. Card fees of 3–5 percent eat your cost basis fast. Use card for the first $200–500, then learn P2P.
- Trading futures with leverage on day one. Futures can wipe an account in minutes. Stick to spot or copy trading until you understand position sizing.
- Picking copy traders by ROI alone. A 200% 30-day ROI on 50× leverage is an unsustainable run. Filter by drawdown and account age first.
- Not testing a withdrawal early. Always confirm you can pull funds off the platform before scaling deposits.
Your 7-day checklist
- Day 1: Register, enable 2FA, set anti-phishing code.
- Day 1–2: Submit Basic Verification.
- Day 3: Verification approved, small first purchase tested (20–50 USDT via P2P or card).
- Day 4: First withdrawal tested – send a tiny amount to a self-custody wallet you control and confirm it arrives.
- Day 5–6: Either build a copy-trading shortlist or scale your spot position. Choose one focus.
- Day 7: Review positions, write a one-paragraph post-mortem regardless of outcome. Calibration first, profit later.
After your first session
Read the methodology for the full platform-evaluation and lead-trader-scoring framework. Run your monthly trading volume through the fee calculator before scaling – Bitget’s fees are competitive but stack quickly at high volume. For comparisons against other major exchanges, see our BingX review and the comparisons in research.
Open an account: Register on Bitget See the affiliate disclosure for full detail.
Frequently asked questions
How long does it take to register on Bitget and buy crypto?
Email or phone registration takes 2 to 3 minutes. Setting up 2FA and the anti-phishing code adds another 5 minutes. Basic KYC verification typically completes in 5 minutes to a few hours. Buying crypto with a card is instant once approved (5 to 30 minutes total); P2P trading takes 5 to 30 minutes depending on the seller's response time; bank transfers take 1 to 3 business days.
Do I need KYC on Bitget?
Bitget allows email or phone signup with limited functionality on the Standard tier. Without KYC you can deposit crypto, trade spot, and access many futures products. KYC unlocks higher withdrawal limits (up to 200 BTC per day after Basic Verification), all fiat onramp options, and full P2P access. New accounts in EU member states, the UK, and a few other jurisdictions may face mandatory KYC at signup due to MiCA and local AML rules.
What are the cheapest ways to buy crypto on Bitget?
P2P trading is usually cheapest because Bitget charges no fee on the P2P side and you negotiate directly with sellers – typical premium is 0 to 2 percent over mid-market. Card purchases via integrated providers (Simplex, MoonPay, Banxa) cost 2 to 5 percent above mid-market. SEPA bank transfers in Europe and ACH in supported regions are mid-tier. If you already hold crypto on another exchange, depositing on-chain is essentially free aside from network gas.
Can US users use Bitget?
Bitget is restricted in the United States, Canada, the United Kingdom, several sanctioned jurisdictions (Iran, North Korea, Syria, Cuba, Crimea, Donetsk, Luhansk), and a few other countries listed in the terms of service. The platform geo-blocks restricted IPs. Using a VPN to bypass restrictions violates the terms of service and can lead to account closure.
What is the minimum deposit on Bitget?
There is no platform-wide minimum deposit. Network minimums apply per asset and chain – for example, USDT on the Tron network typically has a per-transaction minimum of around 1 USDT. Card purchases via Simplex or MoonPay typically have minimums of 20 to 50 USD depending on the provider. P2P minimums are set per seller, often starting at the equivalent of 10 USDT.
Is Bitget safe to use?
Bitget publishes Merkle-tree proof-of-reserves attestations and operates a stated user-protection fund. The exchange has been operational since 2018 and serves over 30 million users. As with any centralized exchange, custody risk is non-zero – withdraw long-term holdings to self-custody. For copy trading specifically, Bitget runs one of the deepest lead-trader marketplaces in the industry.
What fees does Bitget charge?
Spot trading: 0.10 percent maker and 0.10 percent taker at VIP 0, scaling lower with higher tiers. Futures: 0.02 percent maker and 0.06 percent taker at VIP 0, with VIP tiers reducing further. P2P: zero fee on the Bitget side; the price premium is the seller's spread. Card purchases: 2 to 5 percent above mid-market via the third-party provider. Withdrawal fees vary by asset and network.
#Bitget#registration#buy crypto#P2P#KYC
Discussion
Loading comments…